
South African Custom built state of the art PCBs
Required Electronic skills level - intermediate to advanced.
High quality 1,6 mm fiber glass Printed Circuit Boards. All four boards are
needed in order to Automate a Double Reverse / Return Loop. You will also
need a couple of normally open Reed switches
and static magnets readily available locally.
About ready to release the production PCB's.
Photos of fully dressed units to follow.


(PLEASE NOTE: THESE PCBs ARE PERFECT FOR CONTINUOUS EXHIBITION LAYOUTS !!!)
For DC and DCC Layouts. Automatic Reverse Loop Control.

Referring to the above image:
Top left to bottom right:
Top left to bottom right:
AND-01 or AND-02 (revision 2): Point Motor Energiser™
Used for positive point motor operation - one board is needed per Layout. This board has a similar function as the CDU - Capacitor Discharge Unit mentioned everywhere on the Internet but which was not available for sale in South Africa.
Used for positive point motor operation - one board is needed per Layout. This board has a similar function as the CDU - Capacitor Discharge Unit mentioned everywhere on the Internet but which was not available for sale in South Africa.
These little boards can throw three and more Point Motors (Hornby or Peco) wired in parallel, simultaneously, to perform route switching on a layout.
AND-01 throws up to 3 Point motors Simultaneously while the beefed up AND-02 throws more than 3 Point motors simultaneously.
For DC and DCC Layouts.
 |
| With switch S1 open. |
 |
| With switch S1 close. |
NO MORE BURNT OUT POINT MOTOR
SOLENOIDS
OR WELDED SWITCH CONTACTS.
SOLENOIDS
OR WELDED SWITCH CONTACTS.
The new improved PME revision 2 (Part number AND-02) is assembled with twin 4700µF capacitors and with a minor modification regarding the layout and circuitry of this board - MORE BEEF in one package and throws MORE than three under baseboard Point Motors simultaneously. The output of this new board is a powerful 18 to 19 Volt. I am very pleased with its performance!
TEST RESULTS for the PME revision 2:
A slightly better output result is achieved when using an AC power supply instead of a DC power supply!!!
With a 15 V AC, 2 to 3 amp transformer connected to the input of this board, it will supply a 19 V DC output.
With an 18.8 V DC, 3.5 amp Laptop charger connected to the input of this board, it will supply an 18 V DC output.
HOW TO SWITCH POINTS on a model train layout:
Model railways which use points primarily use points motors which creates a linear movement of about 5 mm of the blades of the points.
To create this movement, the simplest device is the solenoid which consists of a coil of wire wound on a former. Inside the former is an iron actuator or slug which can be pulled into the coil when the power is applied. By placing two of these coils end-to-end, a forward and reverse motion can be created.

These two-solenoid point-motors are usually switched by short pulses of electricity. The pulse length is often determined by the operator or by a simple spring-loaded switch.
There are several problems with this arrangement. Point motors require a considerable amount of current for their operation. This means the full capacity of the transformer will be needed and any other items using the same supply may suffer voltage drop during the coil operation.
The high currents can also damage switches. The back emf (reverse voltage) generated by the solenoid is sometimes sufficient to cause sparks and can contaminate the switch contacts that, after a time, can weld the switch closed. This will keep the current flowing through the solenoid and it will overheat very quickly. A Point Motor Energiser (PME) aka Capacitor Discharge Unit (CDU) overcomes all these problems.

 |
| Selling in batches of ten to my online distributor... |
CDUs supply a high current to the solenoid. This high current burst is over by the time the switch contacts open, thus eliminating back emf across the switch contacts. Should a solenoid be left in circuit by the switch being held for a long period, the current flowing through the coil (after the initial surge / current burst) will be less than 50 mA. It won't be even enough to warm the coil.

 |
| Wiring Instruction Sheet for DC and DCC. |

RLTS-1 option 1: Return Loop Toggle Switch™
This circuit board functions like a Latching Relay and is indeed a Semi Electronic Latching Relay - one board is needed for each Double Reverse / Return Loop. (Pre-configured and strapped accordingly). This circuit board was developed due to the fact that a neat Latching Relay with 2 x DPDT contacts is not available in South Africa. For this reason I made use of two standard PCB mounted relays (with 2 x DPDT contacts each) driven by one transistor to create my own Latching Circuit.
For DC and DCC Layouts.

RLTS-1 option 2: Relay Interface™
Using the same RLTS-1 PCB but configured (wire strap or jumper) as Option 2 - two boards are needed for each Double Reverse / Return Loop. (Pre-configured and strapped accordingly).
For DC and DCC Layouts.
Using the same RLTS-1 PCB but configured (wire strap or jumper) as Option 2 - two boards are needed for each Double Reverse / Return Loop. (Pre-configured and strapped accordingly).
For DC and DCC Layouts.
Schematic diagram of my Automatic Double Reverse / Return loop.
Track power of Loops A and B are controlled by one single DC controller or by one side of a DC Dual controller whilst the centre bi-directional track (Main Track) is controlled by another single DC controller or by the other side of the same DC Dual controller via my Return Loop Toggle Switch (RLTS-1). [Toggle meaning that the rail potentials are reversed or changed every time the train is moving in the opposite direction]
MONTHS OF PLANNING WENT INTO THE DESIGN OF THIS CONCEPT, BUILDING IT AND EVENTUALLY PUTTING IT IN SERVICE - PLEASE FEEL FREE TO POST A QUESTION IF NEEDED - ENJOY !
I have achieved 100% flawless Automatic Reverse Loop operations since February 2013, using this method !
Please make use of two single DC Controllers or one DC Dual Controller with two isolated controlled outputs to feed this circuit!!
 |
| Fig.1 (For better viewing: Left click on the image, then right click to "Save image as" on your desktop.) |
The beauty of this Automatic Double Reverse / Return loop:
I can manually change the direction of a Locomotive and the full train length by changing the loop entry by simply pressing a push button momentarily.
More enjoyment operating a layout with loops and it is fairly easy to add more loops anywhere on an existing layout when you need to expand the layout!!
For DC and DCC Layouts.
ALL MODULAR TECHNOLOGY
 |
I made use of reed switches to automate
my double reverse/return loop!! The exact mounting position of the reed switches to be planned accurately. (Please refer to Fig.1 and Fig.2 as basic guidelines). |
 |
You will need these items in order
to complete your automatic double reverse / return loop!!
2 x Points, PCBs (shown below),
2 x Point Motors, a couple of reed switches, and three push buttons with normally open contacts. |
 |
All four PCBs are needed in order to complete
your automatic double reverse / return loop.
For DC and DCC Layouts. |
 |
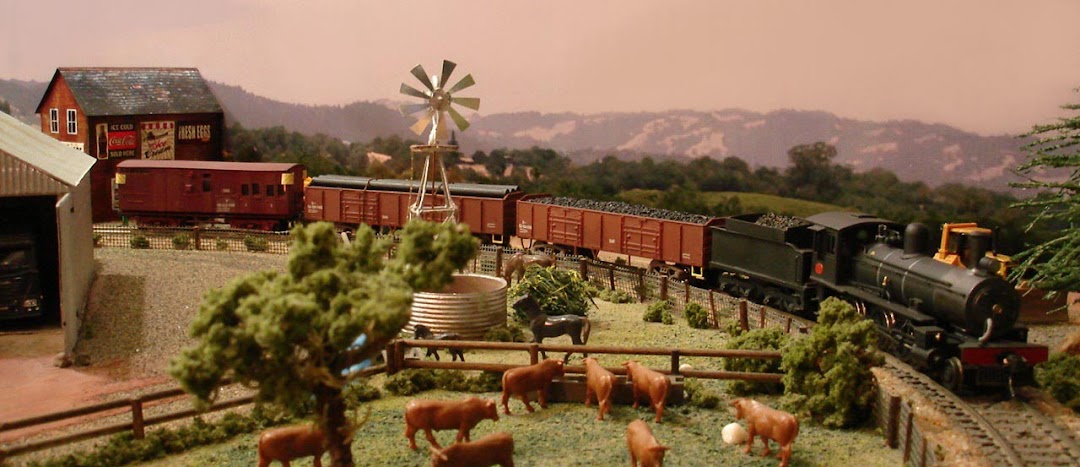
Only the Locomotive in the front of the train
should be fitted with a Static Magnet in the front end underside of this leading Locomotive.
(Ten seconds Super Glue Gel was used for
mounting the magnet)
IMPORTANT:
Only one magnet is allowed in one train in the front for flawless operation of reverse / return loops!! |
 |
Fig.2
(For better viewing: Left click on the image, then right click
to "Save image as" on your desktop.)
Explanatory Wiring
Diagram:
Simplified
Automatic Reverse/Return Loops ~
making use of my
proven custom built
state of the art
RLTS-1, AND-02
Printed Circuit
Boards and
custom built
Smilodon 3000 DTC™
DC Model Train
Controller.
Sensors S1 ,S2, S3
and S4 are ordinary
Reed Switches
mounted between the ties.
**On the diagram, starting
from top right corner,
for Direction B to
A.
PLEASE note that the
RLTS-1 option 1 board
was in the toggled
state and was toggled
back to the NORMAL
state after the
Locomotive has passed
the S3 sensor.
Follow the
turquoise and orange arrows.
Unfortunately, I
couldn't find any better
way explaining
this procedure!
It appears to be
very technical, but it is
really a very
simple procedure
and very easy to
wire.
For DC and DCC Layouts.
|
I am hoping the same best effort from you in the future as well. In fact your creative writing skills has inspired me.
ReplyDeleteJTAG